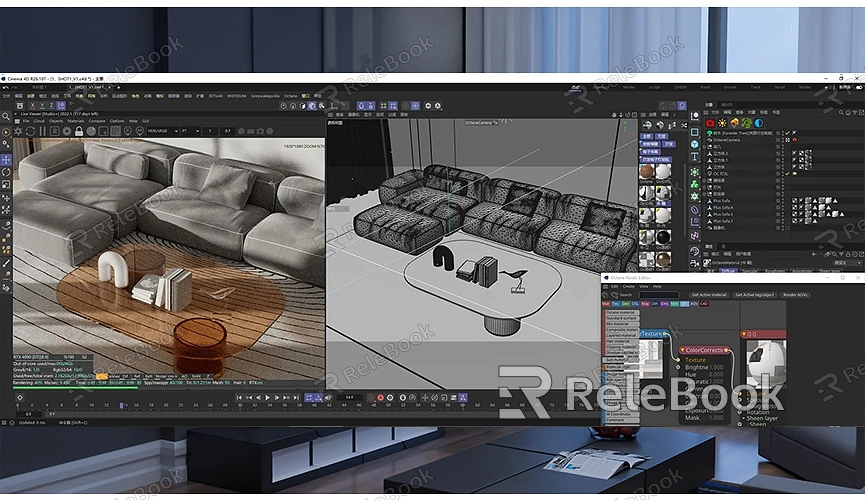
How to render with gpu in blender cycles render
Blender is a powerful open-source 3D rendering and modeling software with various rendering engines, among which the Cycles renderer is renowned for its realistic ray tracing capabilities. Utilizing GPU rendering can significantly enhance rendering speed and efficiency, especially when handling complex scenes and high-resolution images. This article will delve into how to enable and optimize GPU rendering in Blender 2.8 and higher versions of the Cycles renderer, helping you improve your workflow and rendering results.
Steps to Enable GPU Rendering

Enabling GPU rendering in Blender is a crucial step that can greatly boost rendering speed. Here are the detailed steps:
1. Launch Blender: Open Blender 2.8 or a later version and access the main interface. Make sure you’re using the latest version, as updates often include performance optimizations and new features.
2. Access User Preferences: Click on the “Edit” option in the top menu bar and select “Preferences” to open the user settings. This is where you can adjust Blender's configuration and performance settings.
3. Configure GPU Settings: In the Preferences window, select the “System” tab. Here, you’ll find the “CUDA” or “OptiX” options (depending on your GPU type). These options enable GPU rendering. CUDA is for NVIDIA GPUs, while OptiX is a newer technology that also supports NVIDIA. Check the GPU you want to use for rendering. If you have multiple GPUs, you can select several to improve rendering speed.
4. Select Cycles Rendering Engine: In the properties panel on the right side of Blender’s main interface, choose the “Render” settings. Ensure that the rendering engine is set to “Cycles,” as GPU rendering is only supported in this engine.
5. Set Rendering Device: In the Render settings panel, find the “Device” option and set it to “GPU Compute.” This ensures that Blender uses the GPU for rendering instead of the CPU.
Optimizing GPU Rendering Performance
After enabling GPU rendering, you can further enhance performance and rendering quality through several optimizations:
- Adjust Sampling Settings: In the Cycles renderer settings, adjust the sample count to balance quality and performance. Higher sample values improve image quality but also increase render time. For test renders, use lower sample values for quicker results.
- Utilize Efficient Materials and Textures: Choosing efficient materials and textures can reduce rendering load. For example, use lower-resolution textures instead of high-resolution ones to lessen the GPU’s computational burden. Optimize material settings to reduce unnecessary details, enhancing rendering efficiency.
- Simplify Scenes: Reducing the complexity and polygon count in your scenes can significantly speed up rendering. Use simplified models and scene setups to avoid excessive details and high-polygon models.
- Use Render Layers and Passes: Blender supports breaking rendering into multiple layers or passes, allowing for finer adjustments during post-processing. Layered rendering can decrease the computational load for each render, improving the quality of the final image.
- Keep Drivers Updated: Ensure your GPU drivers are up to date. GPU manufacturers regularly release driver updates to enhance performance and compatibility. Using the latest drivers ensures your GPU performs optimally during rendering.
- Leverage Blender’s Render Cache: Blender has a render cache feature that can speed up repeated rendering processes. By caching computed data, you can reduce computation time for each render.
Efficient Rendering Practices
To help you make the most of GPU rendering, here are some effective rendering practices:
- Test Renders: Before performing final renders, conduct low-resolution test renders to check settings and effects. This can save you a lot of time and ensure the final render meets your expectations.
- Use Presets and Templates: Blender provides many presets and templates to help you quickly set up rendering parameters and scenes. These presets can save time and ensure you can start the rendering process swiftly.
- Monitor Rendering Performance: Use Blender’s performance monitoring tools to view rendering progress and GPU usage in real-time. This helps you identify issues promptly and adjust settings to optimize the rendering process.
Seeking Additional Resources
To further enhance your 3D rendering results, if you need high-quality 3D textures and HDRIs for your models and virtual scenes, you can download a variety of premium 3D textures and HDRIs for free from [Relebook](https://textures.relebook.com/). If you're looking for stunning 3D models, you can also find them at [Relebook](https://3dmodels.relebook.com/), which offers a wealth of high-quality 3D resources to improve your design quality and efficiency.
Enabling GPU rendering in the Blender Cycles renderer can greatly enhance rendering speed and efficiency. By correctly configuring and optimizing GPU rendering settings, you can complete various 3D rendering tasks more quickly while achieving higher-quality results. I hope the steps and optimization tips provided in this article help you fully leverage the advantages of GPU rendering to improve your workflow.
By combining efficient rendering techniques with high-quality 3D resources, your Blender projects will perform better. Harnessing the powerful capabilities of GPU rendering, along with top-notch textures and model resources, will make your 3D rendering and modeling efforts much more effective.

